How to Paint Wood on Miniatures
"Wood" You Like to Know Our Secret? Haha. Ha. I'm Sorry.
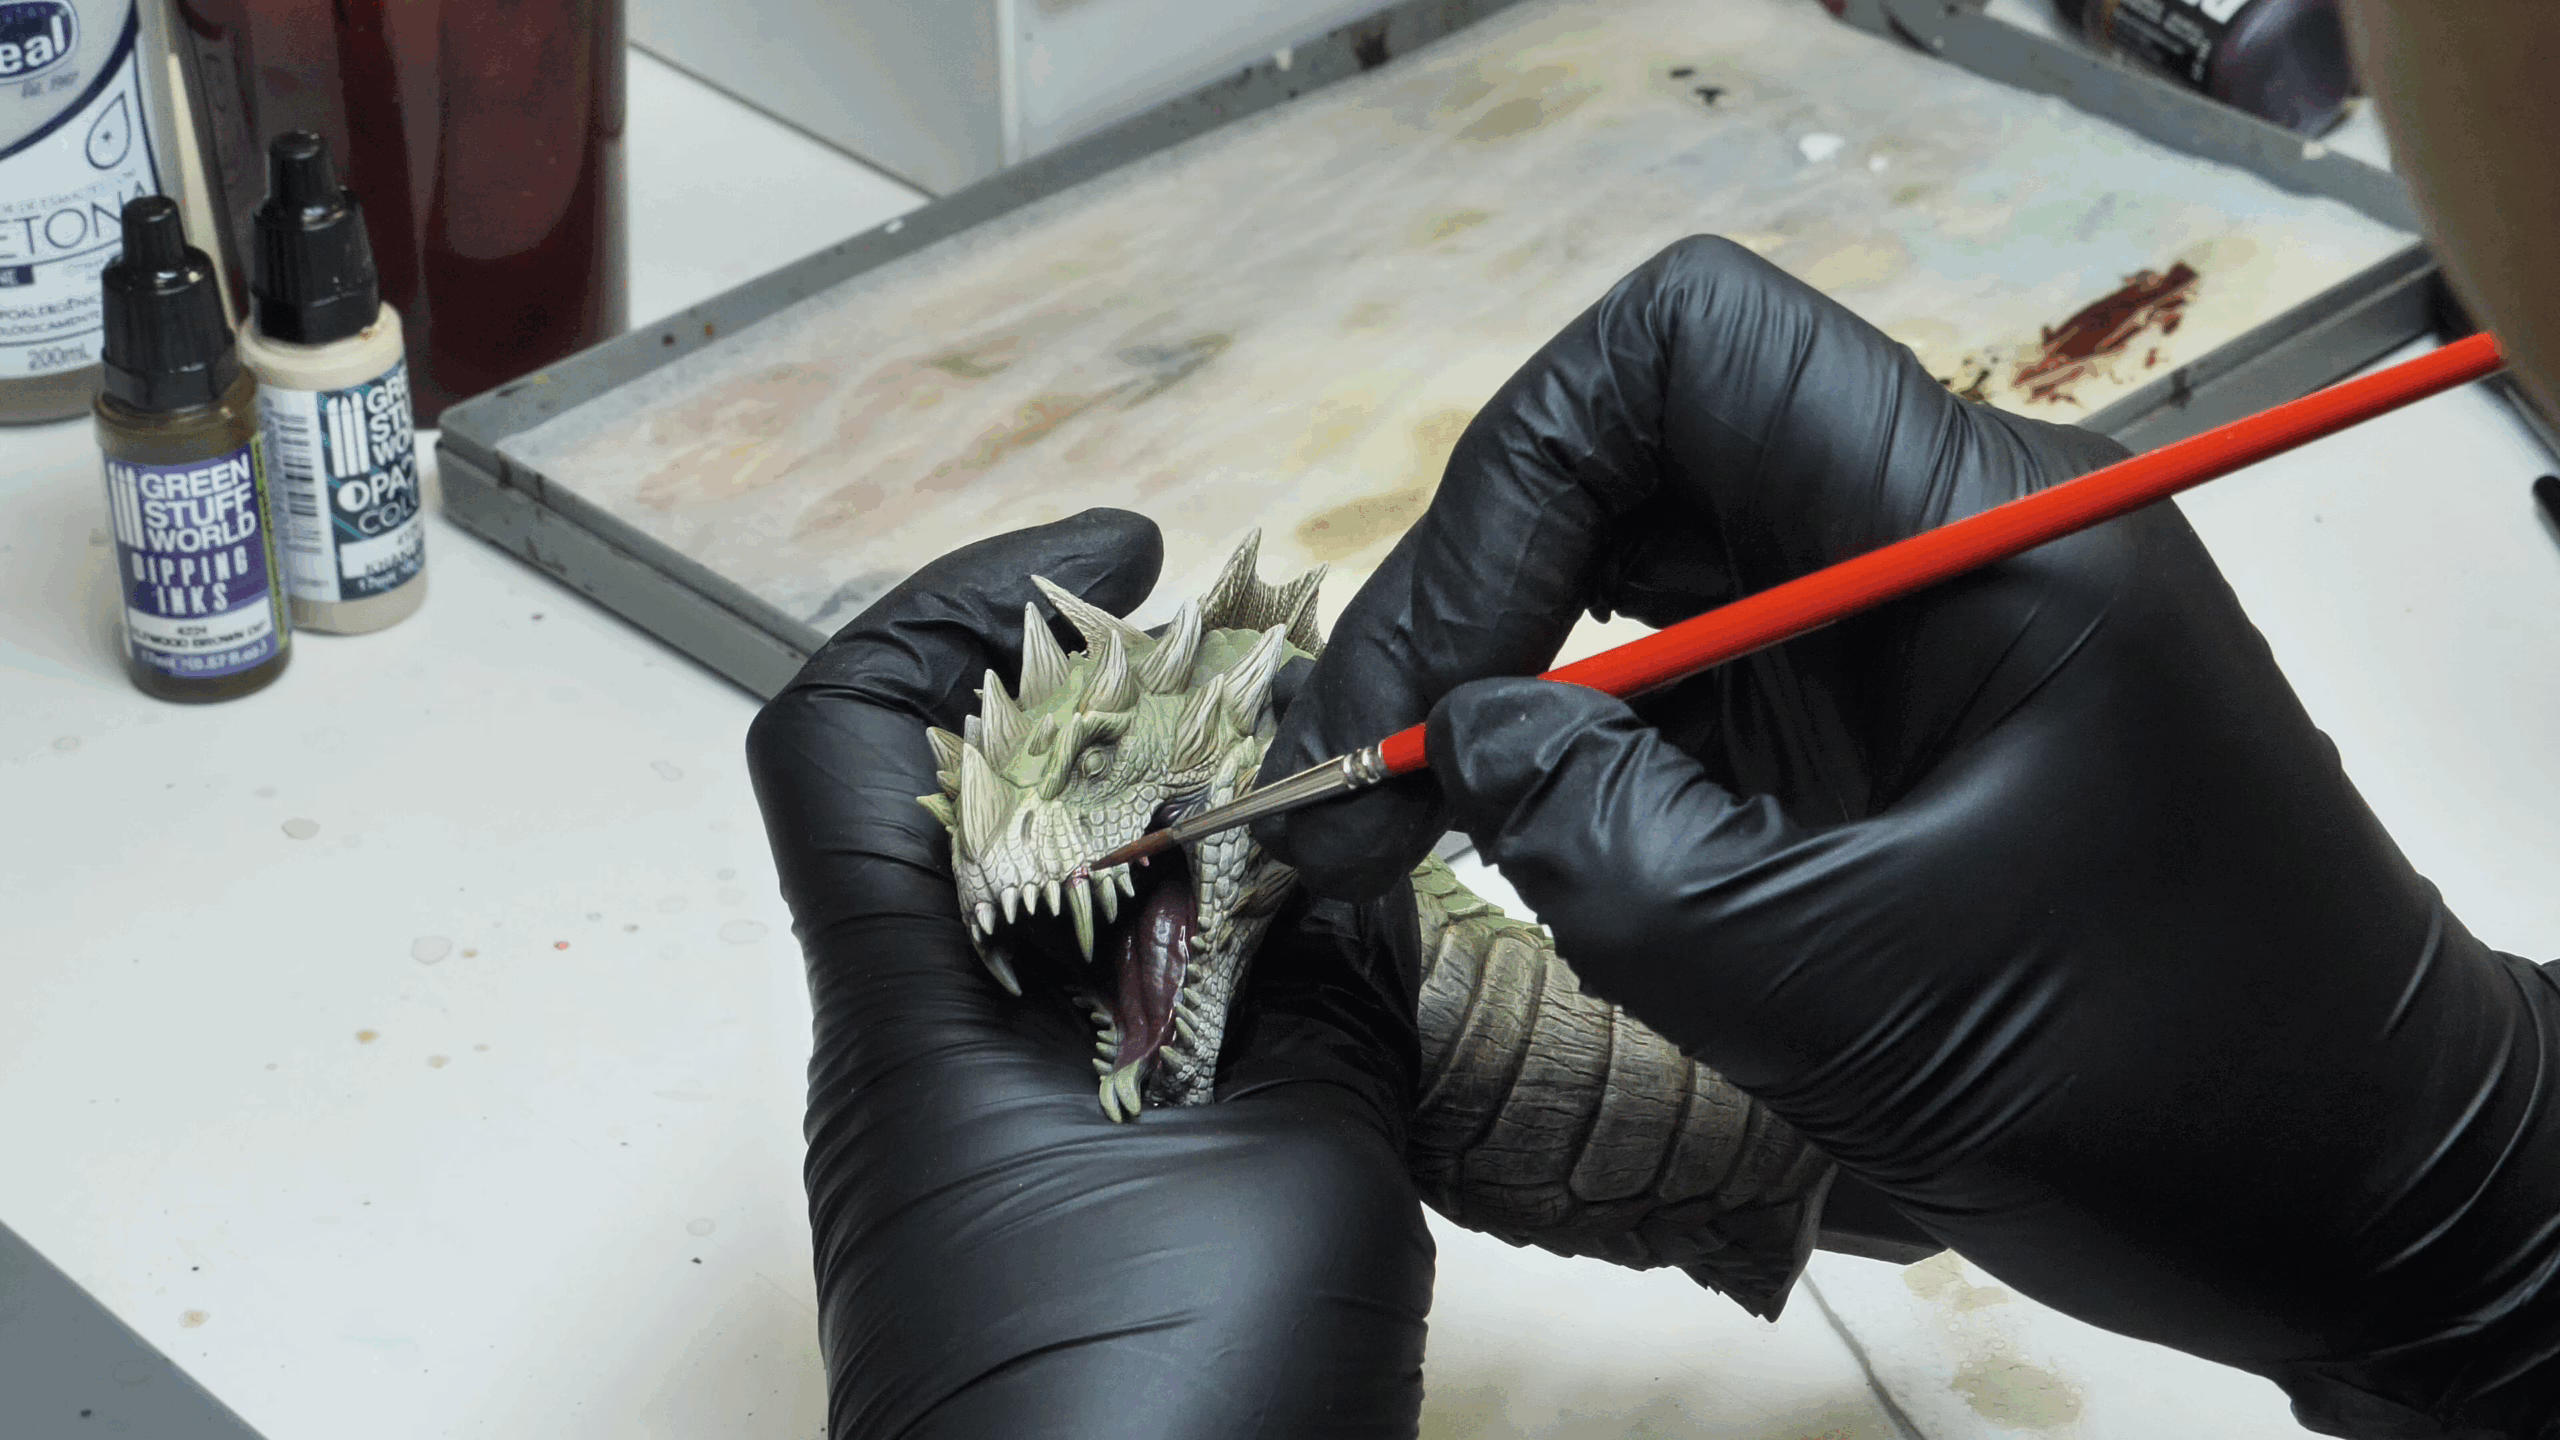
Want to see this technique in action? Check out our full video tutorial on painting realistic, textured wood before you dive into the steps below.
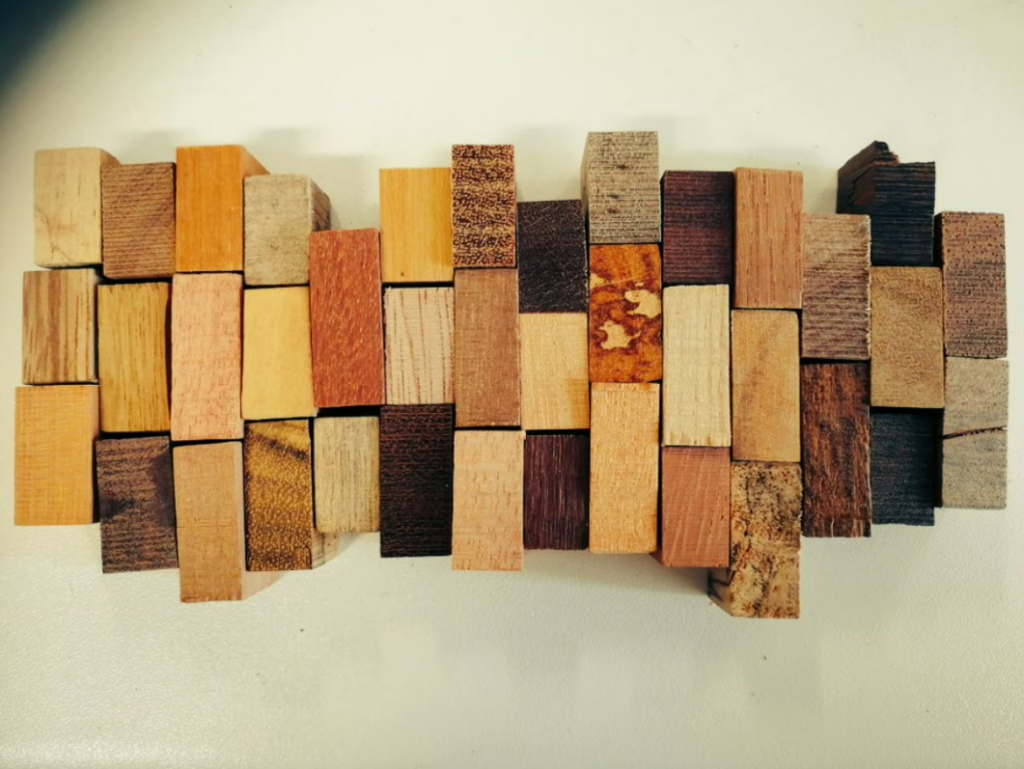
Let’s be honest, wood is everywhere in our hobby. It’s on barrels, treasure chests, shields, spear hafts, tavern floors, and the walls of every fantasy cottage.
But for something so common, it can be… well, boring.
Painting a model’s wooden parts with a single, flat brown is one of the biggest missed opportunities in miniature painting. It looks flat, and it looks wrong. Real wood has texture, grain, and life. The good news? Creating a realistic wood grain effect is incredibly fast, and it’s one of the easiest “cheat codes” you can learn to make your models look 10x better. Let’s get to it.
Materials Needed
You don’t need a lot for this technique. The magic is in the process, not a specific “wood” paint.
You’ll need three shades of brown and one wash.
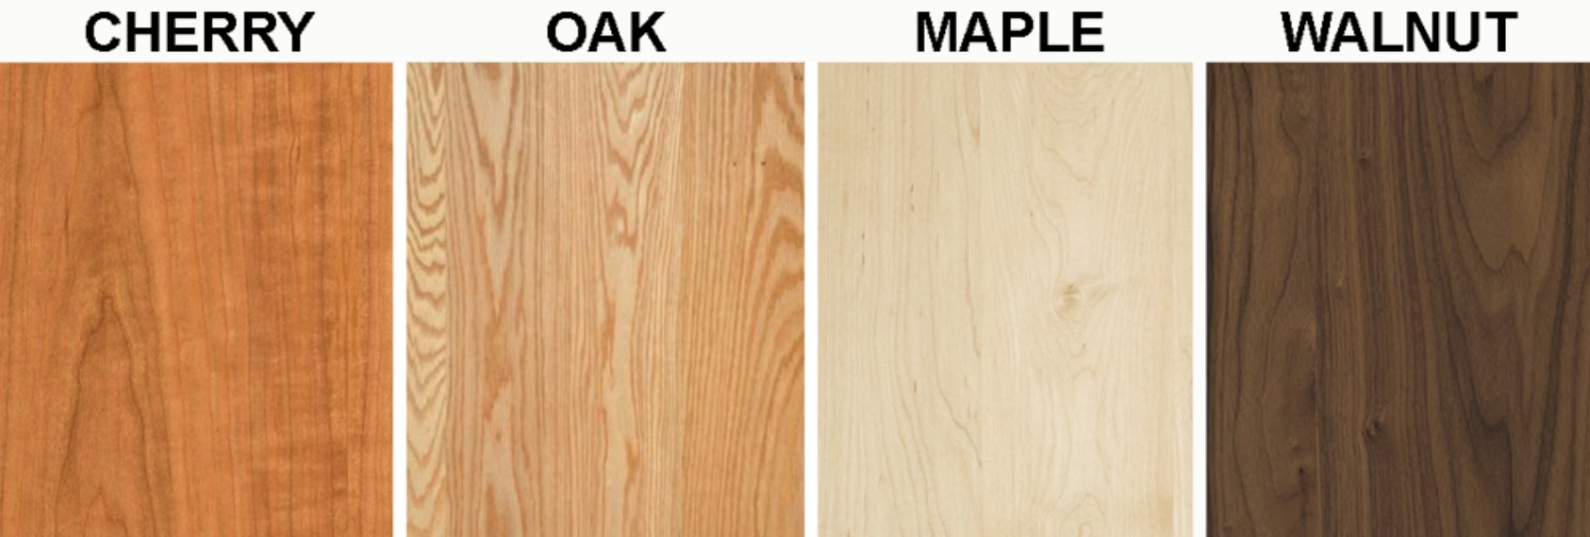
A Dark Brown: This is your base coat (e.g., Citadel Rhinox Hide, Army Painter Oak Brown).
A Mid-Tone Brown: This will be your main wood grain (e.g., Gorthor Brown).
A Light Brown/Tan: This is your final highlight (e.g., Baneblade Brown, or just add some bone-white to your mid-tone).
A Brown Wash: This is the key to tying it all together (e.g., Agrax Earthshade, Strong Tone).
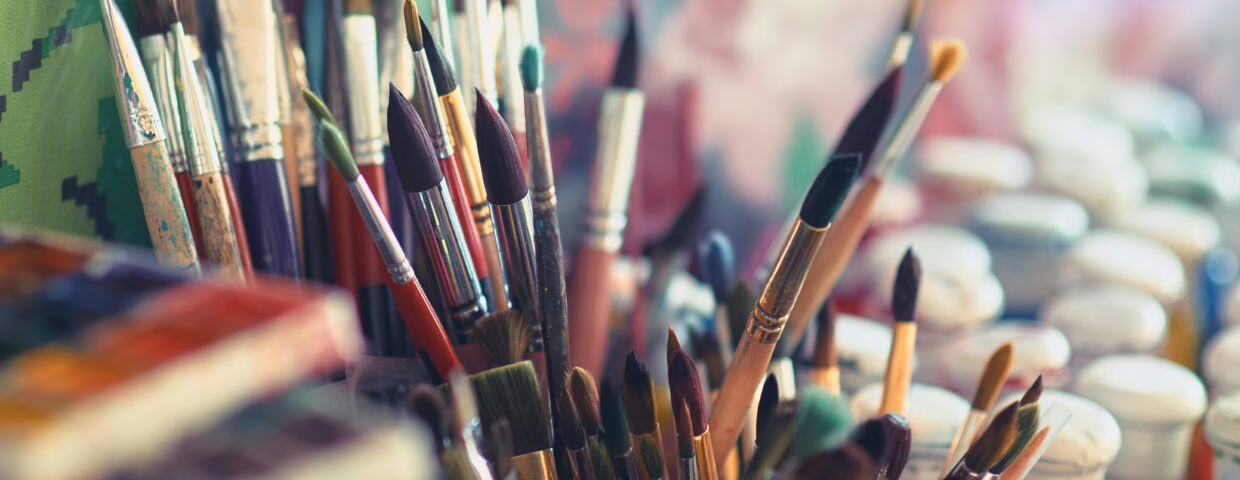
Brushes:
A Basecoating Brush: Any medium-sized brush you use for base coats.
A Detail Brush: A Size 0 or 1 with a good, sharp point. This is what you’ll use to paint the grain.
Other: Your standard water cup and a palette.
WANNA KNOW MORE ABOUT BRUSHES? CLICK HERE!
Step-by-Step Guide: Painting Wood Grain
Step 1: The Dark Base Coat
First, take your dark brown paint and apply a solid, smooth base coat to all the wooden areas. This dark color will serve as your shadows and the deepest parts of the grain. Make sure this layer is 100% dry before you move on. Don’t rush this!
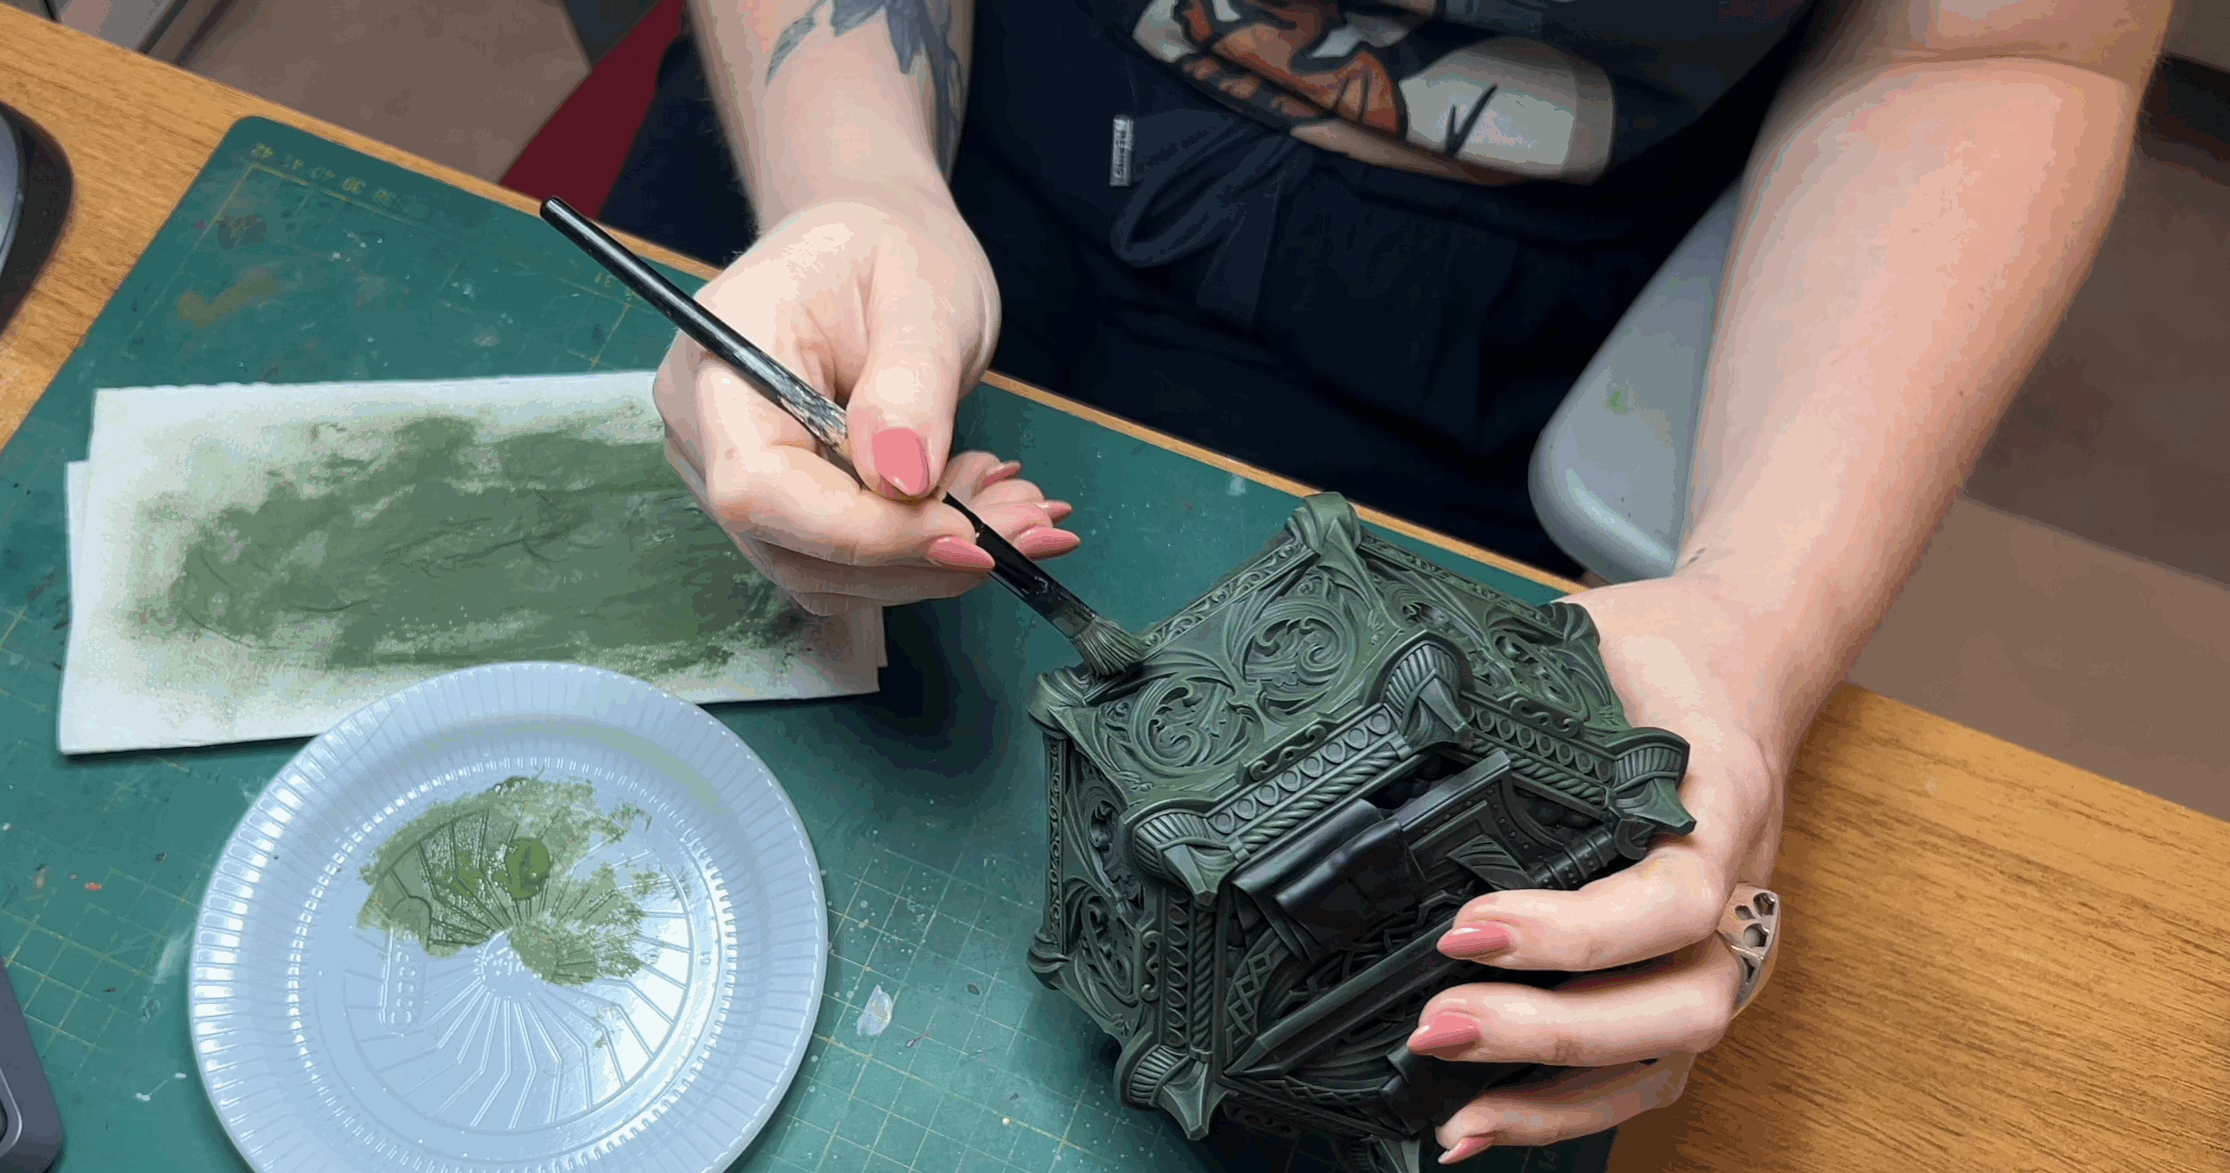
Step 2: The “Magic” – Painting the Grain
This is the most important part, and it’s where the effect comes to life. Take your mid-tone brown and put a little on your palette. Thin it just slightly with a drop of water, you want it to flow smoothly, but not be watery like a wash.
Now, using your detail brush, start painting thin lines across the surface. This is your wood grain. Here are the key “pro-tips” to make it look real:
Follow the Planks: If you’re painting a shield or a floor, paint your lines in the direction the planks would be running.
Keep them Parallel: Your lines should be mostly parallel and slightly wavy. Don’t make them perfectly straight, but don’t paint zig-zags.
Paint “Knots”: To add extra realism, paint a small oval or a “stretched” circle somewhere. Then, as you paint your other lines, make them flow around this knot. This simple trick instantly sells the effect.
Step 3: The Fine Highlight
Let your grain layer dry. Now, take your light brown/tan paint.
You’re going to repeat the exact same process as Step 2, but this time, you’ll be even more selective. You are not painting over all the lines you just did.
Using your detail brush, paint a few even thinner lines inside some of the mid-tone lines you’ve already created. Focus these new highlights on the areas where light would naturally hit—like the top edge of a barrel, the center of a plank, or the top of a shield. This creates a “pop” and adds depth.
Step 4: Tie it All Together with a Wash
Right now, your wood might look a little stark, with bright lines on a dark background. This last step unifies everything. Take your brown wash (like Agrax Earthshade) and apply it liberally over the entire wooden area.
This wash does two magic things at once: It sinks into all the recesses and the gaps between planks, creating instant shadows. It stains your bright highlights, toning them down and blending all three of your brown layers together into one, natural, cohesive effect.
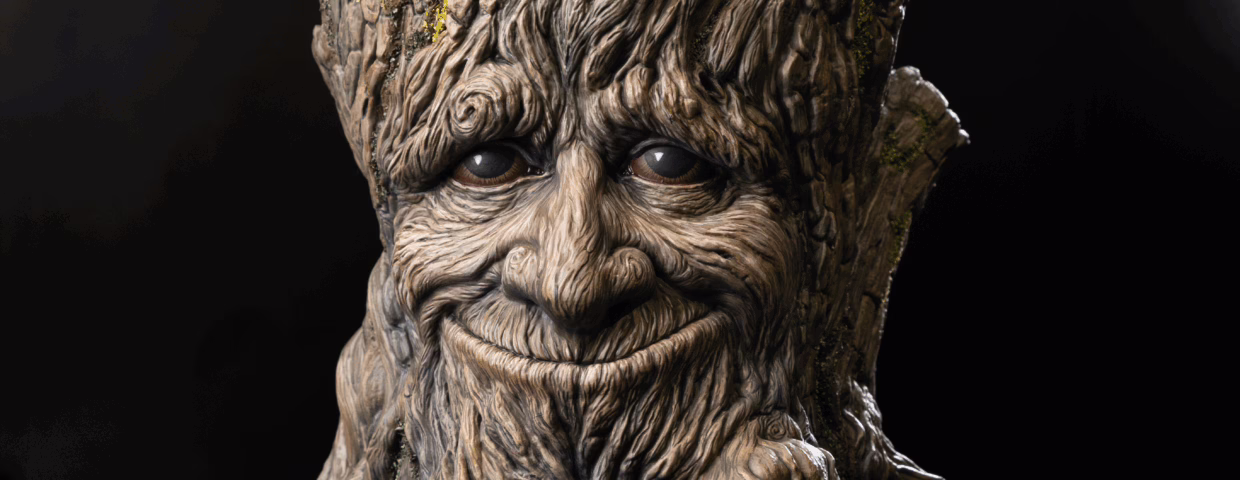
Final Thoughts
That’s it! Once your wash is dry, you’ll have a rich, textured, and realistic wood effect that took you just a few extra minutes.
This is a foundational technique that you will use on almost every fantasy or sci-fi model (every gun needs a stock!). It’s one of the simplest ways to add realism to your miniatures and a “must-have” skill in your hobby toolkit. Now go find some barrels and give it a try!
Loot Studios can help you tell your story through highly detailed miniatures. Choose your favorite bundle from our previous releases or sign up for Fantasy or Sci-Fi to receive at least one new bundle every month. You can also check out some tips on our YouTube Channel.