How to Paint Water
Making It Look Really Impressive
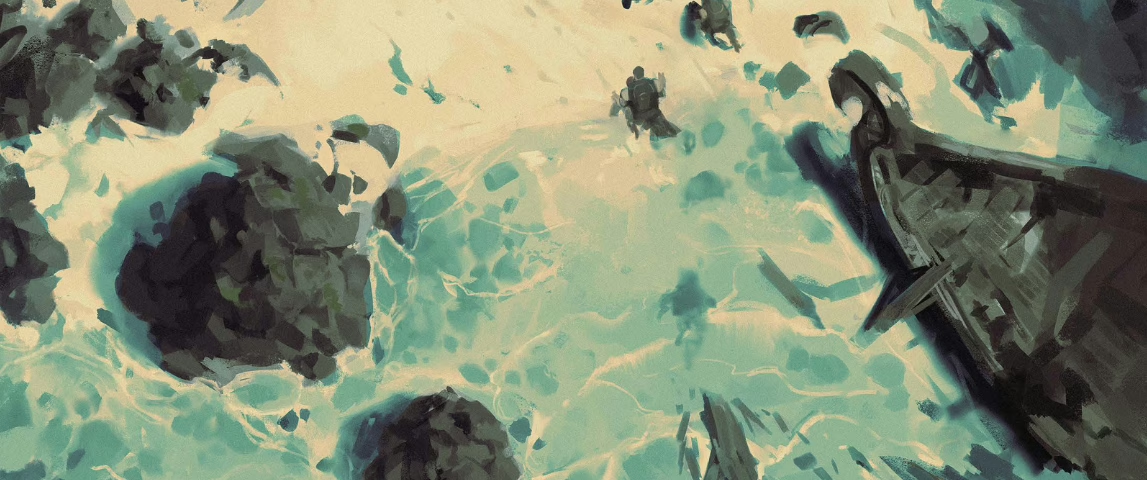
You’ve got your new miniature—a marvelous mermaid, a fearsome leviathan, or a Lovecraftian monster from the deep. These creatures are fascinating, but what makes them truly impressive is the base they stand on.
Painting water is the key. A flat blue base looks… well, flat. But with a few simple tricks, you can create the illusion of depth, light, and motion that brings the entire model to life.
In our latest video, our own Márcia shows you how to paint a stunning water-based, step-by-step. You can watch the full guide below, and then we’ll dive into the process.
Materials Needed
For this technique, Márcia uses a few specific items to create a fast, smooth effect.
Paints: You’ll need a gradient. We’re using:
- Black: For the deepest, darkest areas.
- An Ocean Blue: (like AK Interactive’s)
- A Pure White or Off-White: For the lightest highlights and foam (e.g., Pale Sand).
A Wet Palette: This is key for mixing the smooth gradient of colors.
Finishing Effects:
- Still Water Product: (like AK Interactive’s) This is a thick, clear liquid that creates a realistic “wet” look.
- Gloss Varnish: A great alternative.
- Matte Varnish: (Optional, for the pro-tip below).
Step-by-Step Guide to Painting Water Bases
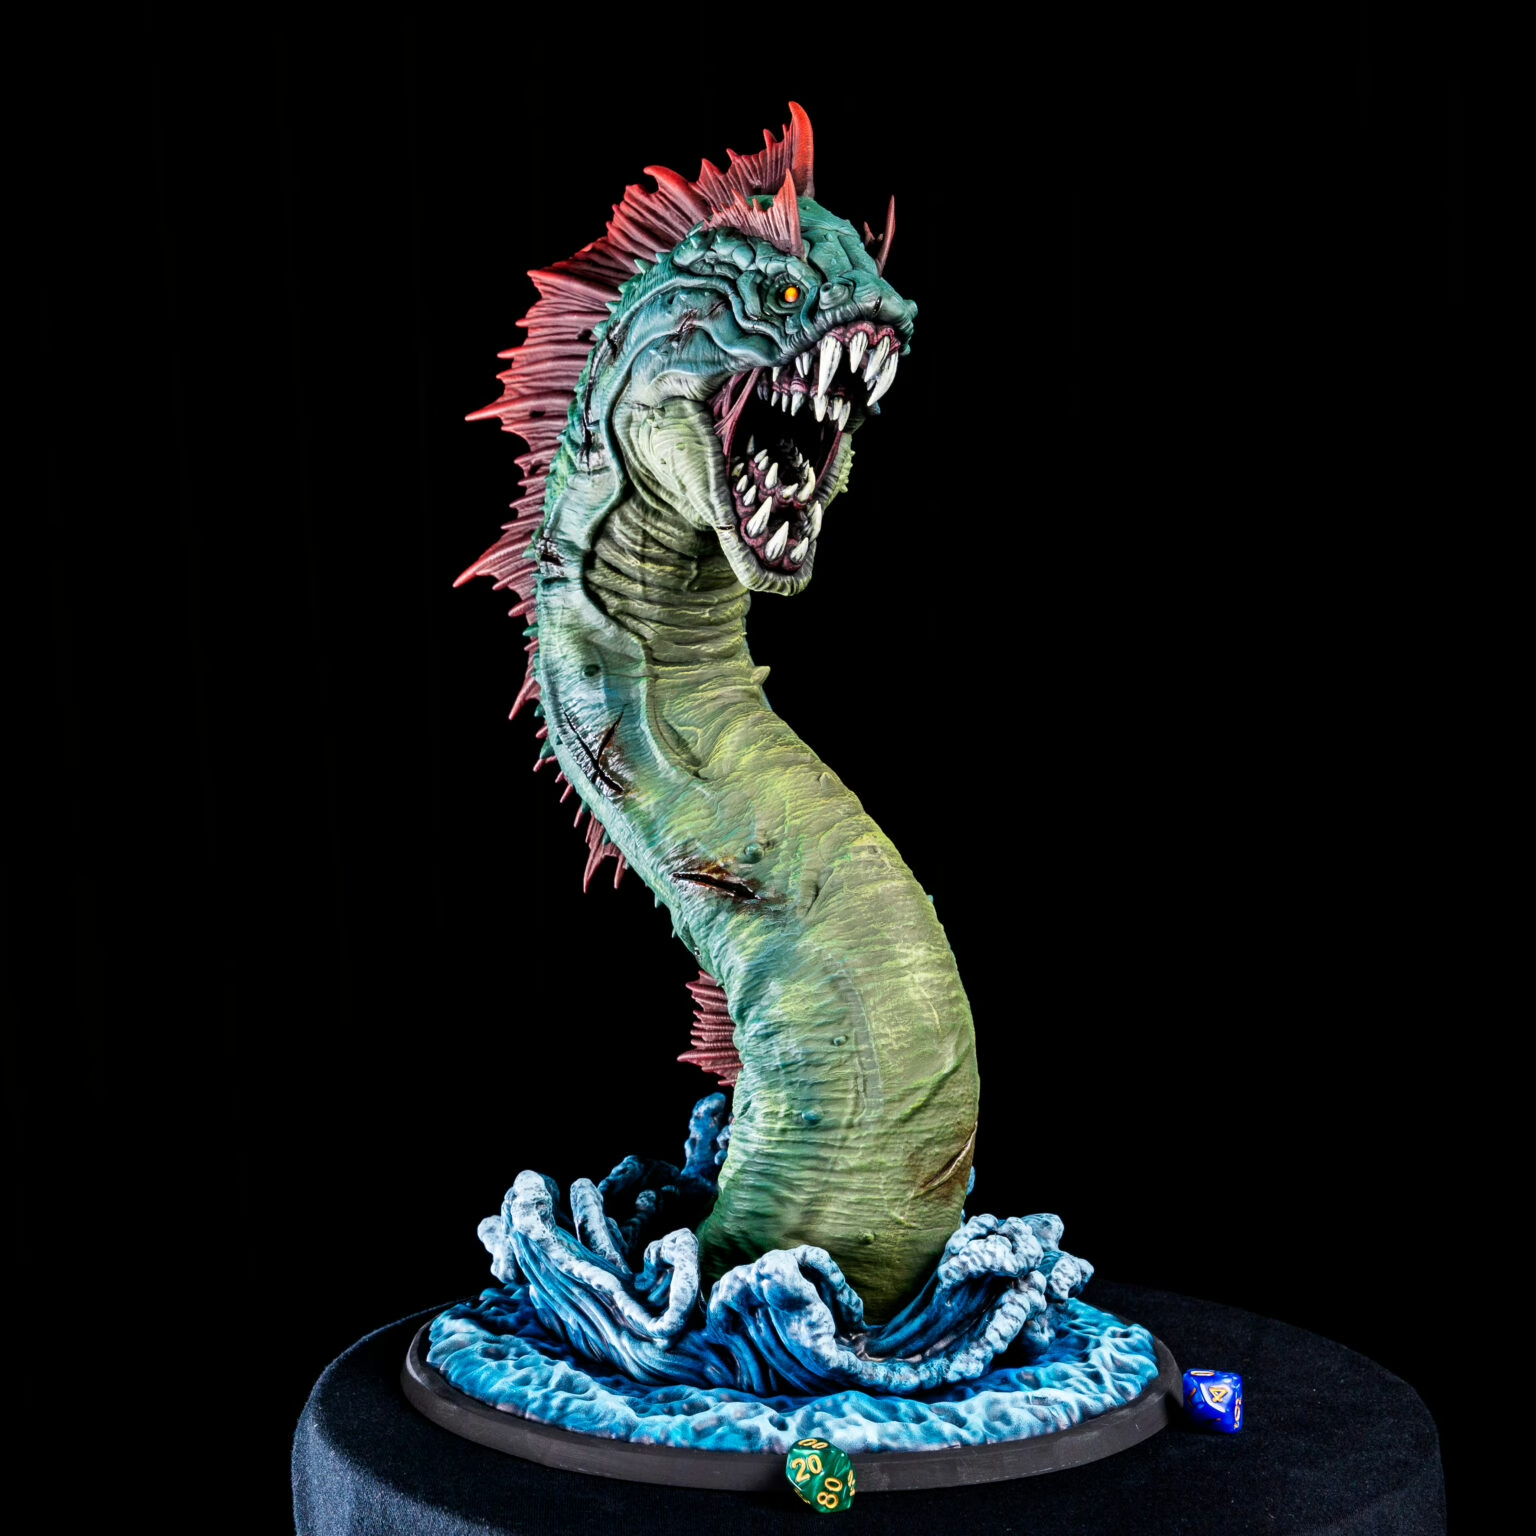
This simple, fast method is perfect for models that already have waves and texture sculpted onto the base, like the Leviathan Fishman from our November bundle.
Step 1: Create Your Gradient
On your wet palette, create your color transitions. Mix a gradient from Black to Ocean Blue, and then another gradient from Ocean Blue to White. Having these smooth transitions ready on your palette will make the “wet-on-wet” blending on the model much easier.
Step 2: Paint the Deepest Areas First
Start by painting the deepest, lowest parts of the water base with your pure black or a black-blue mix. This immediately establishes your darkest shadows and creates a sense of depth.
Step 3: Build Up from Dark to Light
With your deep shadows in place, begin working with your gradient. The intention is to paint from the darkest tone up to the lightest tone. Pull your Ocean Blue color into the black, blending it up. Then, start mixing in your white-blue mix for the upper, shallower areas. This creates the illusion of light hitting the surface.
Step 4: Give Depth to the Waves
This is the most important “pro-tip” to make your water look realistic. A wave is a 3D object, and it casts a shadow on the water under it.
Take your dark blue or black-blue mix and paint it directly under the “crest” of each sculpted wave. This small step creates a massive amount of contrast and depth, making the waves “pop” off the base.
Step 5: Apply the “Wet” Look (Varnish)
Let your paint dry completely. (You can use a hairdryer, but remember: always use the cold air setting! Hot air can warp or melt your miniature).
Once dry, apply your “Still Water” product or a simple gloss varnish. The Still Water will give a thicker, “wetter” look, while the varnish is a more subtle, shimmering effect. Both work beautifully.
Pro-Tip: The “Finish Contrast” Trick
Here’s a secret for water. Before you add the gloss, hit the entire base (water, foam, and all) with a good Matte Varnish. Let it dry completely. Then, come back with your brush-on Gloss Varnish and paint only the parts that are “wet,” leaving the foam matte. This contrast in finishes is an advanced illusion that tricks the eye. It makes the foam look dry and airy and the water look deep and wet.
Step 6: Finish with Foam
The final step is to add the foam. Take a Pure White or (for a more natural, less “chalky” look) an Off-White/Ivory paint and use a fine detail brush. Gently paint the very highest ridges of the waves and any “crashing” water. Be sparing with this—a little white goes a long way!
Pro-Tip: “Undercutting” Your Foam
For a true mastery effect, let your foam dry. Then, take your “Ocean Blue” paint and create a very thin, translucent glaze. Apply this glaze only to the very base of the foam, where the white meets the blue water. This will “undercut” the foam and make it look like it’s truly sitting on top of the water, not just painted on.
Final Thoughts
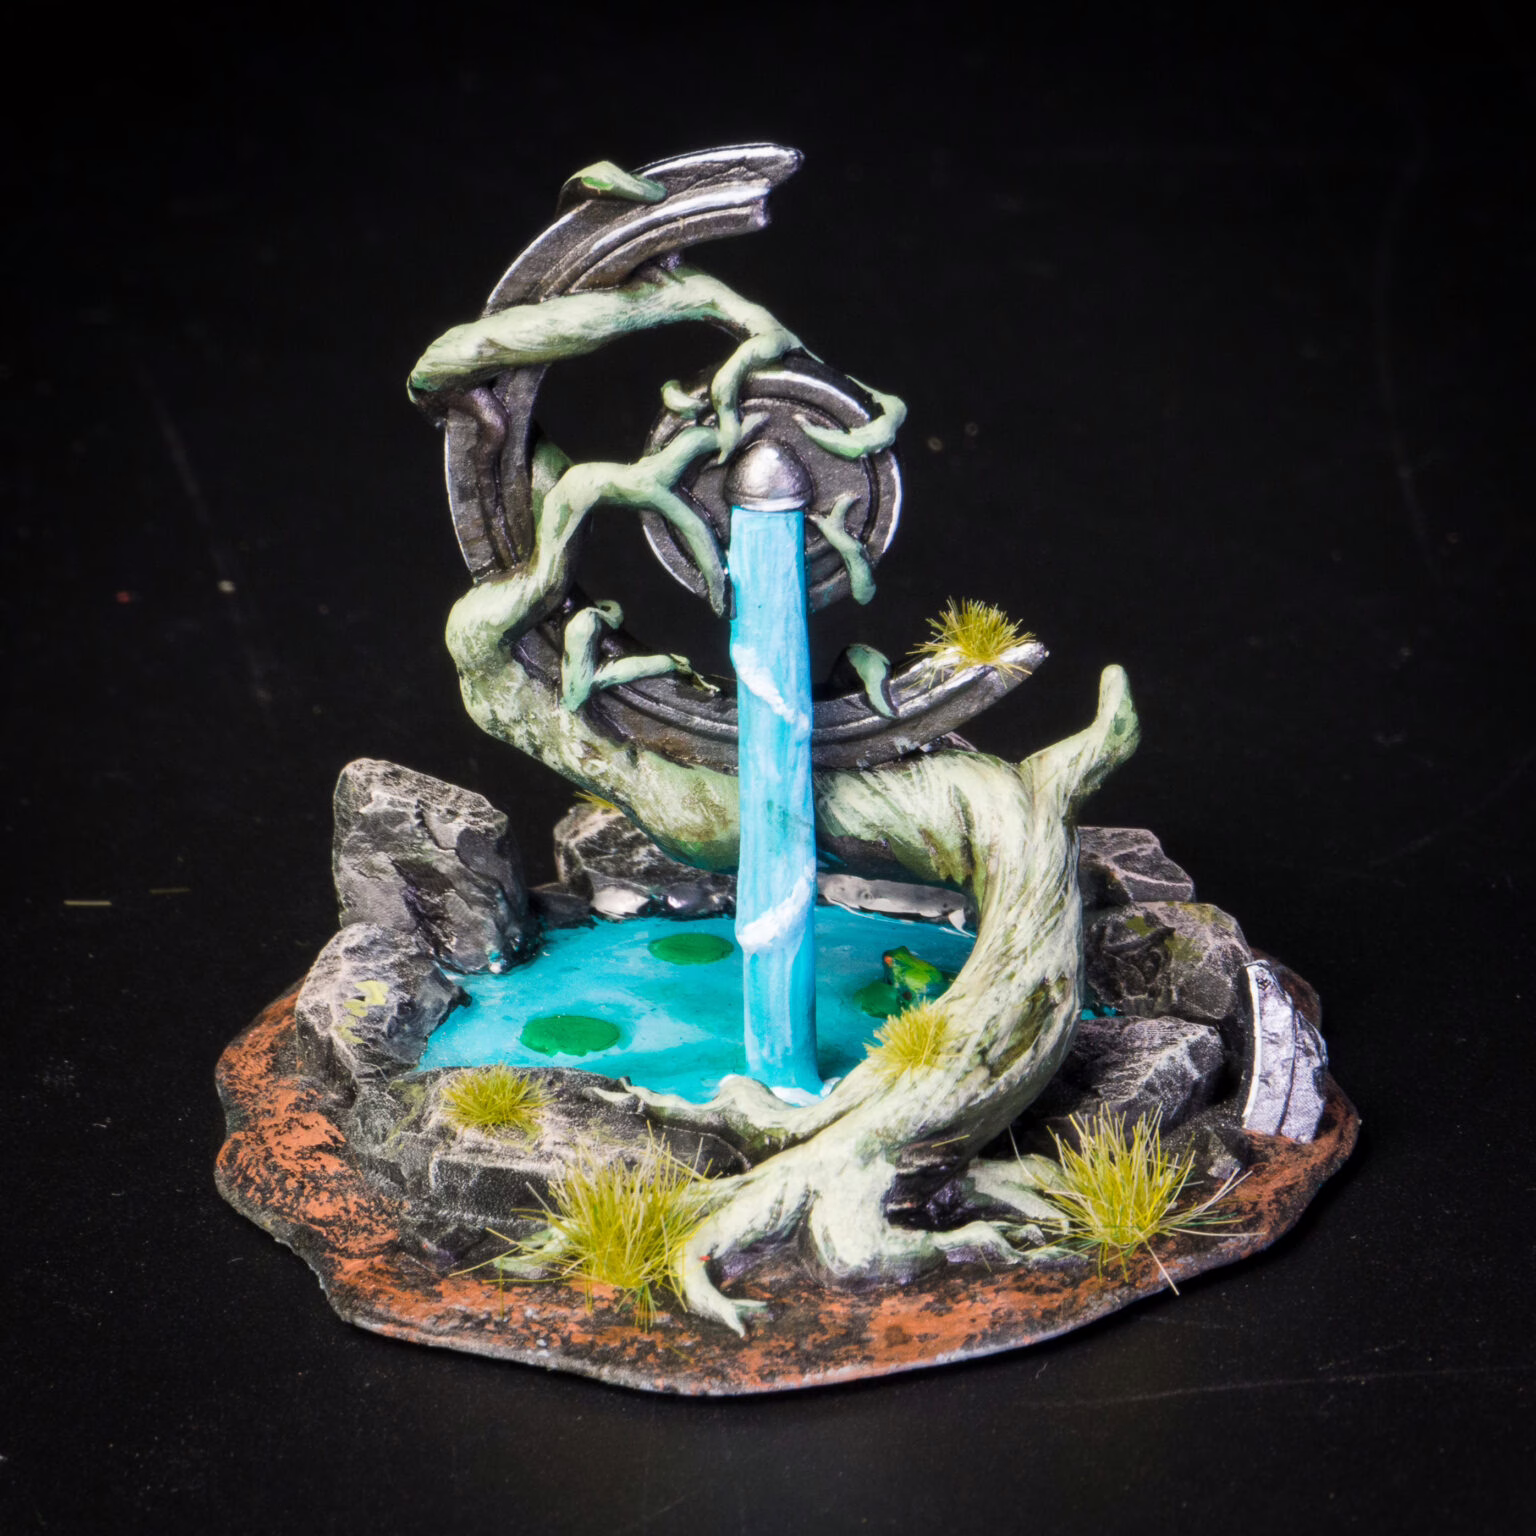
And that’s the result! In just a few steps, you’ve gone from a plain plastic base to a dynamic, realistic body of water.
This is the kind of technique you can apply to castle moats, riverbeds, or any aquatic creature. It’s fast, simple, and makes your miniatures look truly impressive.
We love to see your work! If you use this technique on any of your Loot miniatures, please post them on our community channels and share them on social media.
Loot Studios can help you paint highly detailed minis, statues, and props. Choose your favorite bundle from our previous releases or sign up for Fantasy or Sci-Fi to receive a new bundle every month. You can also check out some tips on our YouTube Channel.

JP Lima is a writer, editor, TTRPG translator and overall fantasy and sci-fi enthusiast. He has been creating fantasy worlds for more time than he would like other people to know and has contributed to Brazilian magazines like Tempos Fantásticos, Mafagafo, Faísca and more. His favorite games with minis are tactical battle titles like Mice and Mystics and he loves gory, creepy and spooky figures.