Painting Rock Terrains
And Making your Minis Even More Realistic
If you’re anything like me, you feel your minis deserve a world to explore. We spend hours painting the hero, but often, the base they’re standing on gets a single coat of grey and a shrug.
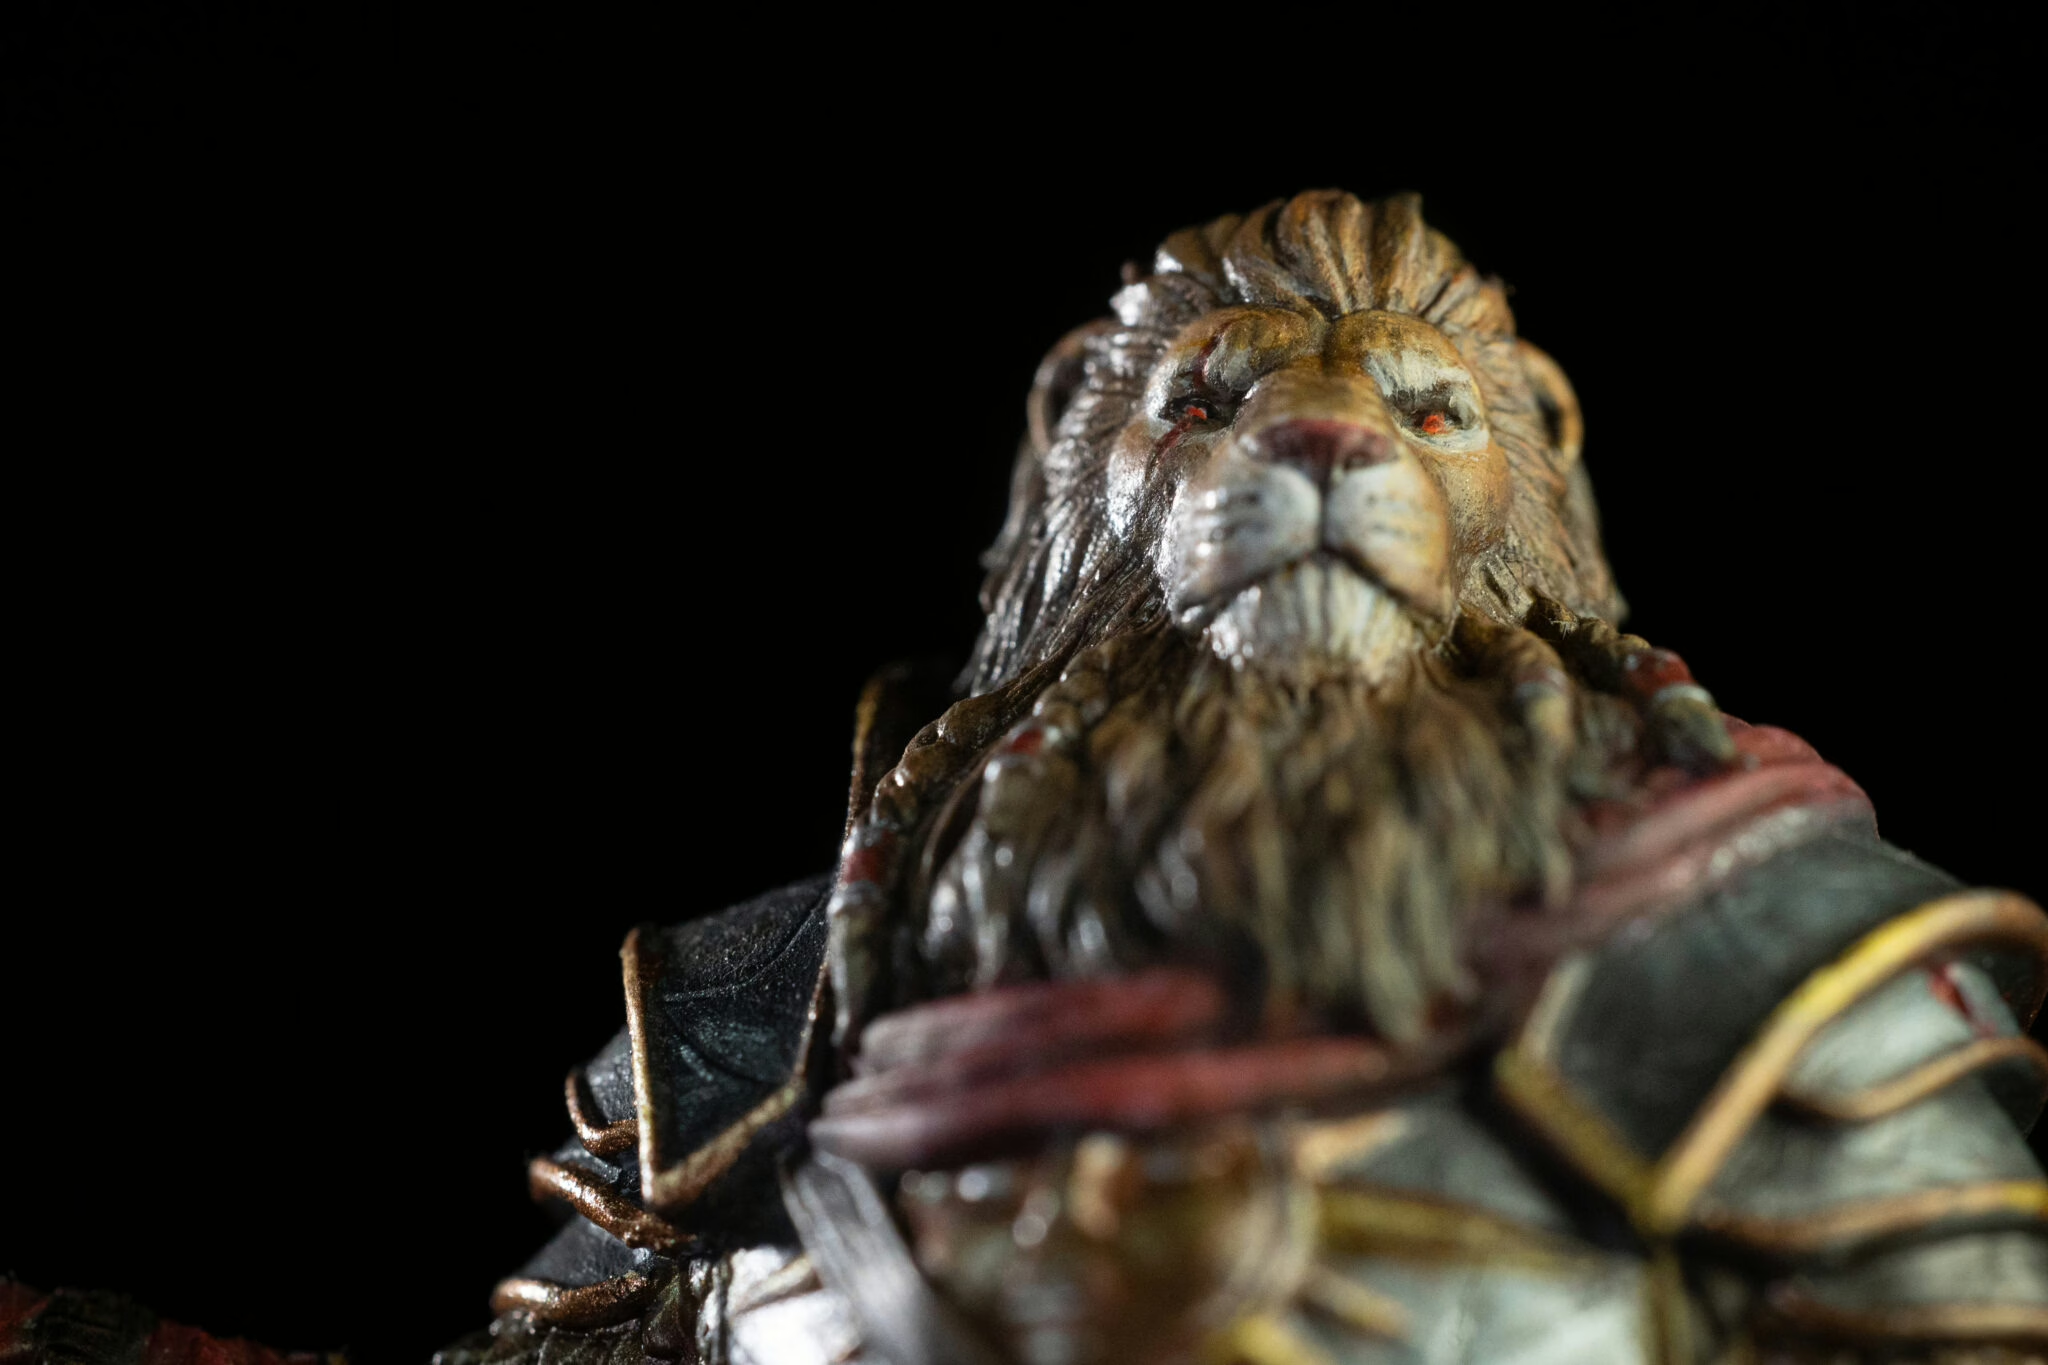
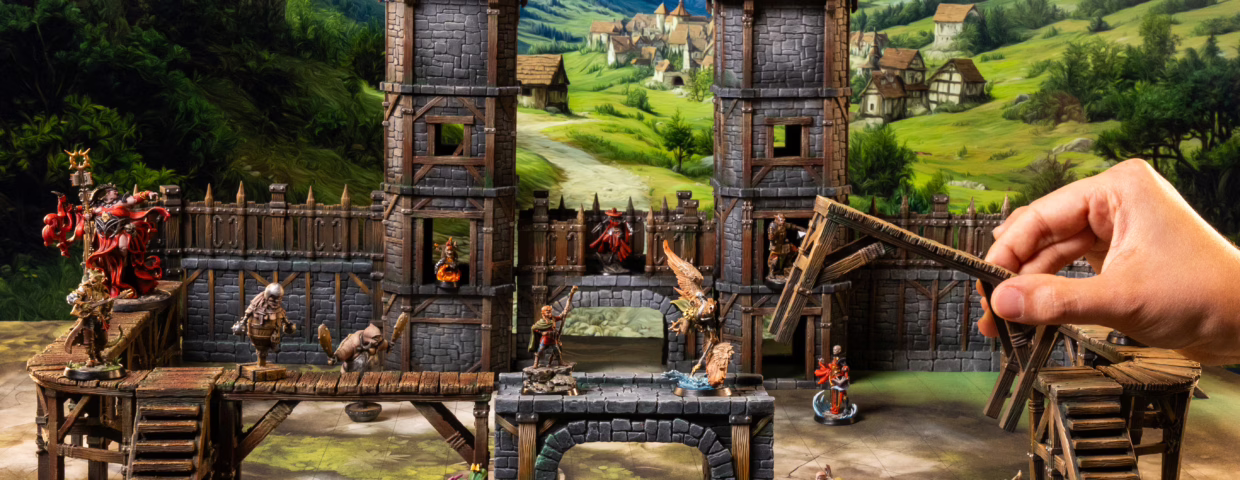
But think about your Mountain Giants, your hoarding Dragons, or the Golems delving into deep caves. The rock beneath their feet sets the entire scene. Today, we’re moving beyond “flat grey” and learning exactly how to paint rock terrains that look real, rugged, and alive.
It’s Never Just “Grey”
Go outside and pick up a stone. Look closely. It’s rarely just a flat grey. It has browns, greens, blues, and tans.
The biggest mistake beginners make is painting a base “Dungeon Grey,” washing it black, and stopping there. That looks like plastic. To make your rocks pop, you need to inject color variation.
Here are three quick recipes to try:
River Stone (Smooth & Wet): Paint these in darker greys and greens. The trick here isn’t color, it’s finish. Use a Gloss Varnish at the very end to make them look perpetually wet and slippery.
Cave Stone (Cold & Deep): Don’t just use a black wash. Try a Dark Blue or Purple wash over your grey base coat. This instantly makes the cave feel cold, deep, and shadowed.
Desert Rock (Warm & Dry): Start with a dark brown base. Drybrush up to a Rusty Orange, and finish with a final highlight of Bone/Ivory.
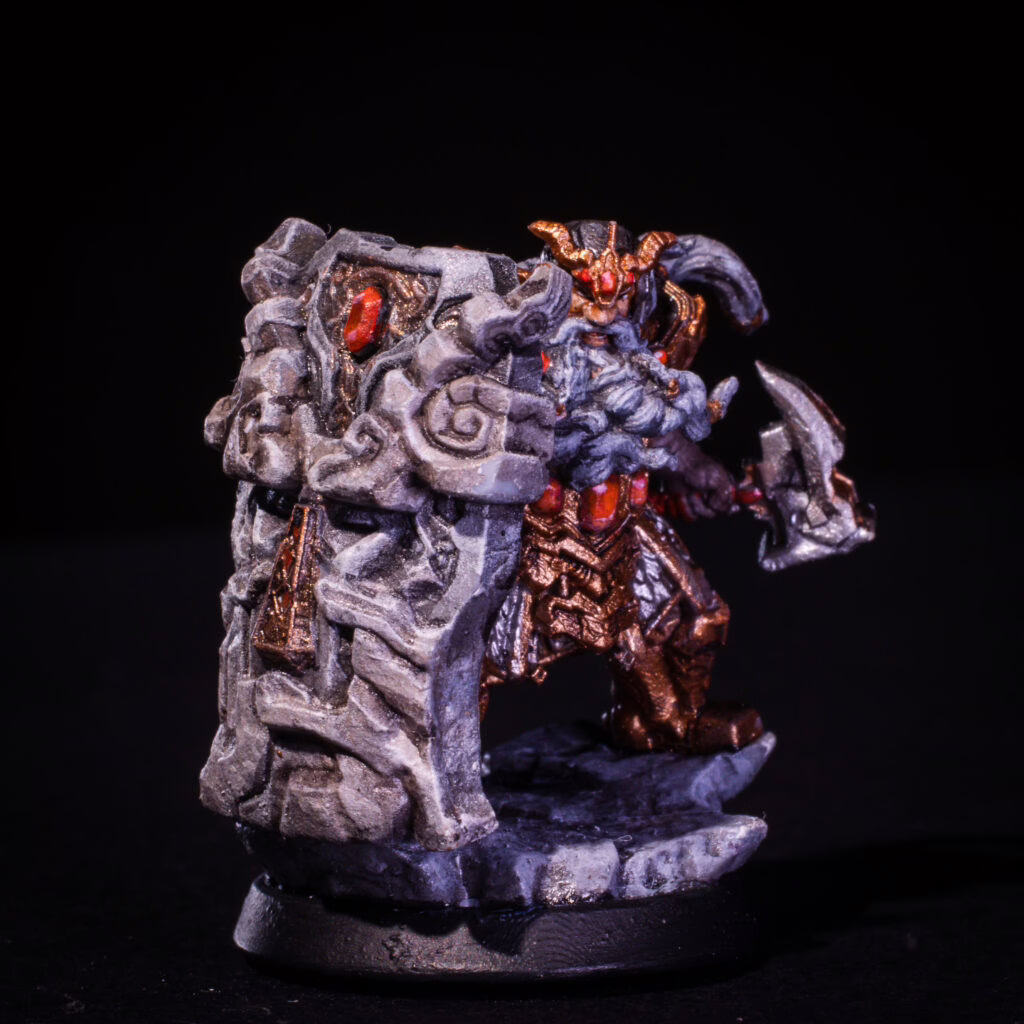
The “Holy Trinity” of Rock Painting
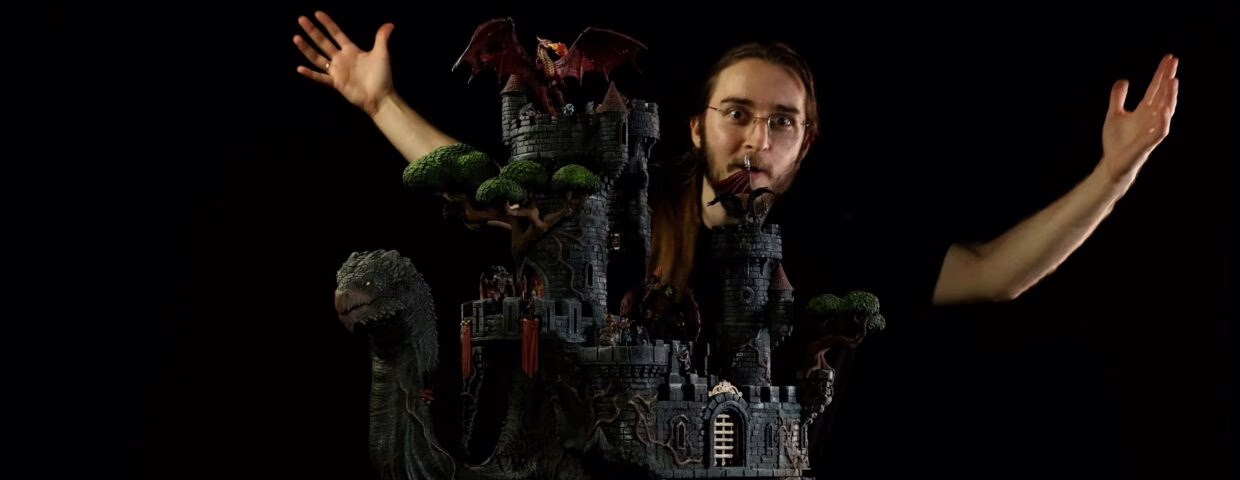
Since your Loot Studios miniature already comes with incredibly high-definition texture sculpted in, you don’t need aluminum foil to make bumps. You need a painting technique that finds them.
Here is the 3-step process that works on every rock, every time.
WANNA KNOW HOW TO PAINT LIKE US? CHECK HERE!
The Basecoat (The Foundation)
Start dark. Darker than you think. If you want a grey rock, start with a near-black or dark charcoal. This ensures that even if your brush misses a tiny crack, it just looks like a deep shadow.
The Drybrush (The Magic Wand)
This is the single most important technique for rocks.
Take an old, flat brush (never your good sable!).
Load it with a lighter color (like a light grey or ivory).
Wipe 99% of the paint off on a paper towel until nothing comes off on your hand.
Now, sweep the brush furiously back and forth over the rock. The paint will catch only on the sharp edges and bumps. Instantly, your flat plastic looks like jagged stone.
The Stipple (The Nature)
Real rocks are dirty. Take a piece of sponge (tear a bit off a blister pack or kitchen sponge), dip it in a dark green or brown paint, and dab most of it off. If you don’t know much about stippling, click here.
Gently tap it randomly on your rock. This creates the illusion of moss, lichen, or dirt accumulation without needing to paint specific details. It breaks up the uniform color and makes the rock feel “grounded.”

Environmental Storytelling: Weathering & History
Now that your rock is painted, tell its story. The “History” is in the weathering.
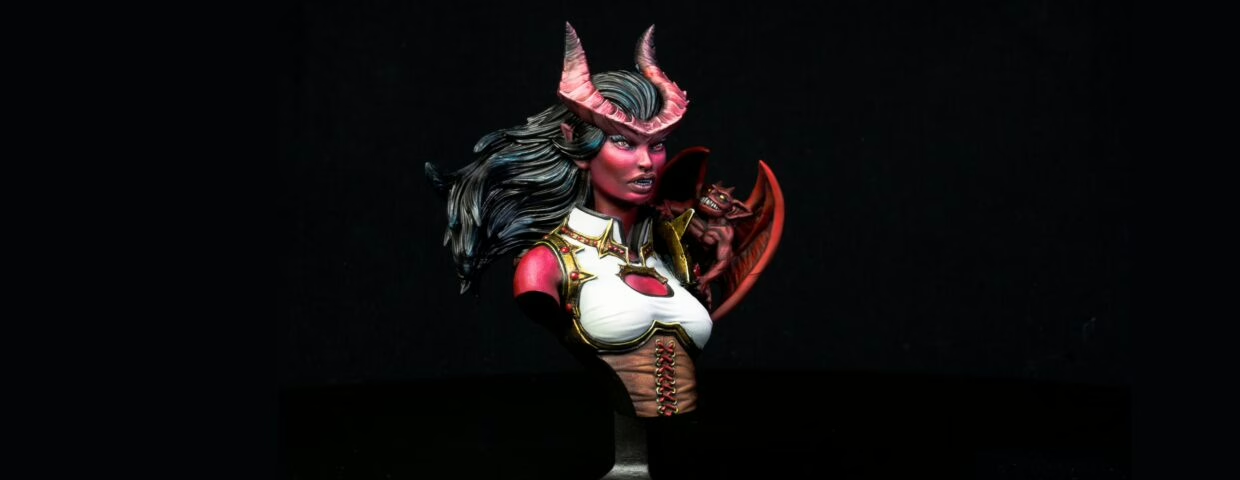
Bloodstains: For a Feral Vampire’s lair, don’t just paint red paint on the rock. Use a technical paint like “Blood for the Blood God” or mix red ink with gloss varnish. Flick it from a toothbrush for a splatter effect.
The “User” Experience: Is a Cyclops living there? Focus your “dirt” stippling on the center of the path where he walks. Leave the edges near the walls cleaner.
Pigment Powders: If you want true realism, buy some “weathering pigments” (dry dust). Brush some orange or brown dust into the cracks of your rocks. It creates a dusty, ultra-matte finish that looks incredibly real.
Final Thoughts
If lots of weird stuff can be found in the real world, what can be found on the rock terrains you paint is up to your imagination.
By using these simple techniques—varying your wash colors, mastering the drybrush, and adding stippled nature—you can turn a boring grey base into a scene that tells a story all on its own.
Loot Studios can help you paint highly detailed minis, statues, and props. Choose your favorite bundle from our previous releases or sign up for Fantasy or Sci-Fi to receive a new bundle every month. You can also check out some tips on our YouTube Channel.

JP Lima is a writer, editor, TTRPG translator and overall fantasy and sci-fi enthusiast. He has been creating fantasy worlds for more time than he would like other people to know and has contributed to Brazilian magazines like Tempos Fantásticos, Mafagafo, Faísca and more. His favorite games with minis are tactical battle titles like Mice and Mystics and he loves gory, creepy and spooky figures.