Setting Up the Layer Height in Your 3D Printer
Balancing Quality and Speed
Quality or agility? When it comes to 3D printing, that is the most common question you’ll face. Do you want your print fast, or do you want it beautiful?
This choice is primarily influenced by one crucial setting: layer height. Understanding this single parameter is the key to mastering your printer. It’s how you decide if that 28mm hero will be an ultra-detailed masterpiece or if that massive dragon will be ready for game night before it’s 2 AM.
Stick around, because we’re going to dive deep into this setting and show you how to get the exact results you want.
What Is 3D Printer Layer Height?
In short, layer height is the exact thickness of each individual layer of resin that your printer cures to build your model.
It’s the “Z-axis” resolution. Your printer’s X/Y-axis resolution is fixed—it’s determined by the pixels on its LCD screen (e.g., 4K, 8K) and cannot be modified. This resolution dictates the horizontal detail (how sharp the edges are).
Layer height, however, is the vertical detail, and it is 100% adjustable by you. Most desktop resin printers offer a range from 0.01mm (extremely thin) to 0.1mm (very thick).
The Great Trade-Off: Speed vs. Quality
This is the central dilemma. Why would you ever choose a “thicker” layer? Speed.
This setting becomes most noticeable on curved surfaces or those that are almost parallel to the build plate. To show you what this means, we printed a few test spheres.
At 0.1mm (a very thick layer), you can clearly see the “steps” or silhouettes of each layer on top.
As the layer gets thinner, the surface becomes much smoother.
At 0.01mm (an ultra-thin layer), the steps are practically imperceptible to the naked eye.
These “steps” are called layer lines. A thick layer height will create very noticeable ridges, while a thin layer height will make those same curves look buttery smooth. The trade-off? More layers mean more “up and down” movements for the build plate, which significantly increases the total printing time.
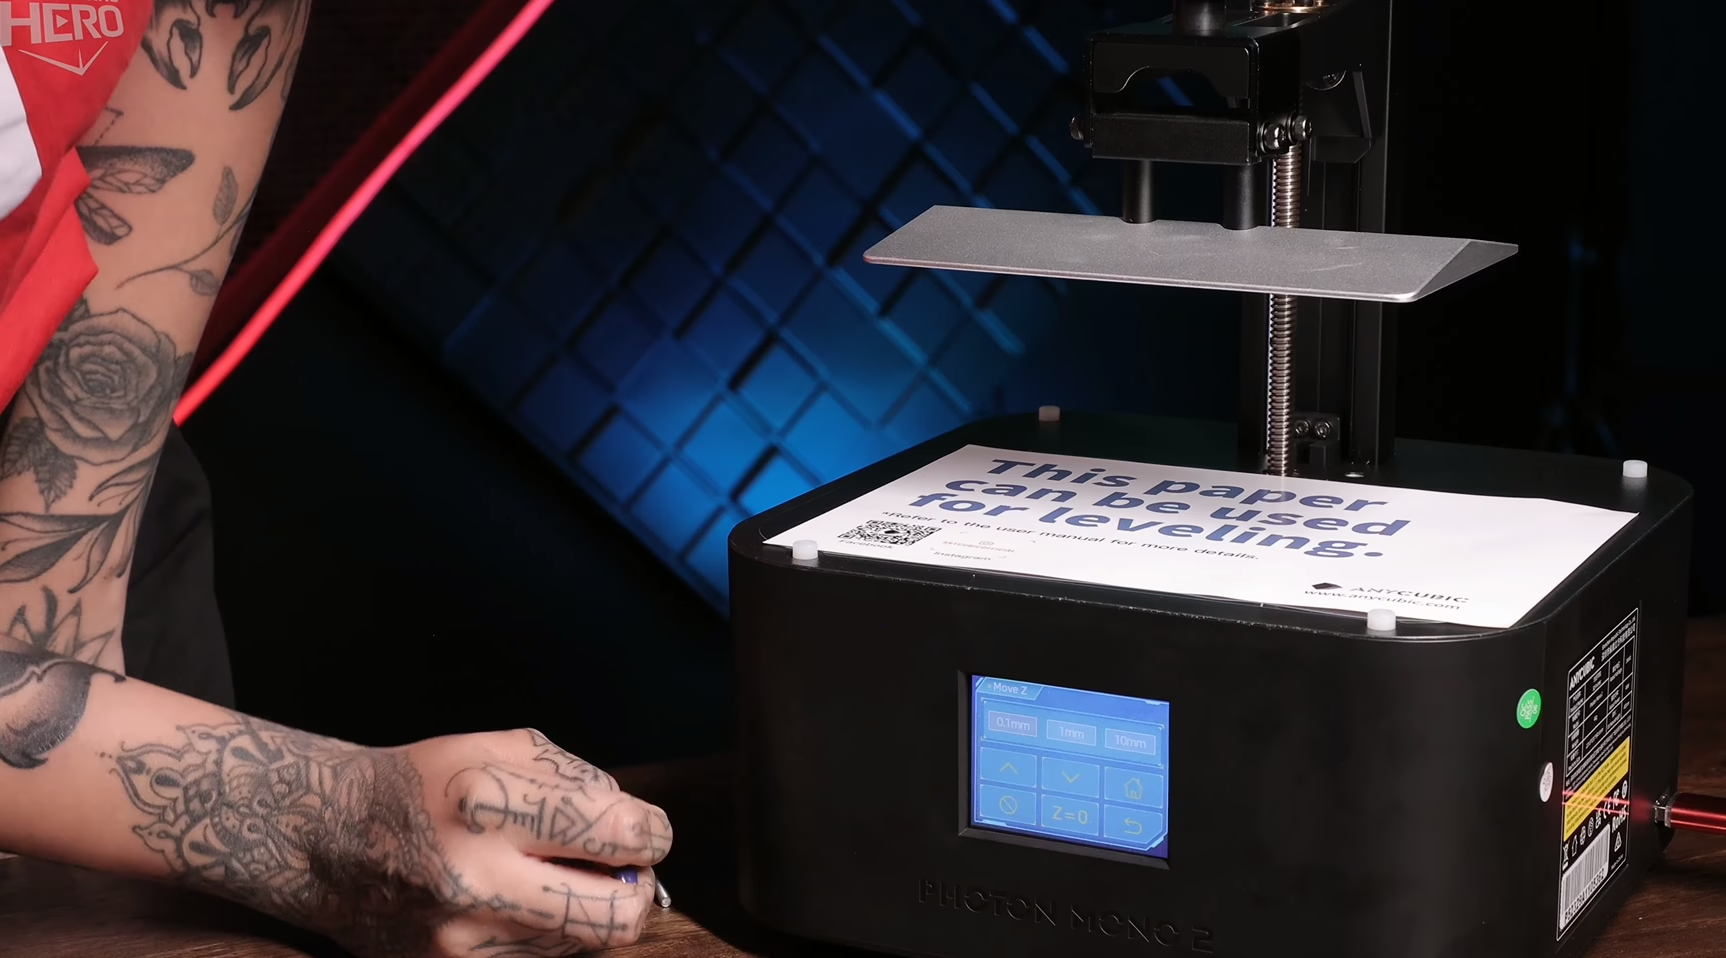
How to Change Your Layer Height: A Practical Guide
This setting isn’t on your printer; it’s in your slicer. Here is the step-by-step process for taking control.
Open Your Slicer Software
First, open your preferred slicer software, such as Lychee or Chitubox. You will almost always find “Layer Height” in the main print settings menu, usually right next to “Exposure Time” and “Lift Speed.”
Choose Your Layer Height (The “Recipes”)
This is where you make your decision. Here are the most common “recipes” painters use:
The “Draft” Setting: 0.10mm (100 Microns)
This is your “speed” setting. The layers are very thick, so the print finishes in a fraction of the time. The trade-off is that you will see layer lines. This is an excellent choice for large mechanical parts, simple terrain, or any project where fine detail isn’t your priority.
The “All-Rounder” Setting: 0.05mm (50 Microns)
This is the “standard” default for a reason. Here at Loot, we use 0.05mm as our standard layer height. It’s the perfect balance of quality and speed. At 0.05mm (which is thinner than a strand of hair), layer lines are barely visible, and prints still complete in a reasonable timeframe.
The “Hero” Setting: 0.03mm to 0.01mm (30 to 10 Microns)
This is your ultra-quality setting. Use this when you are printing a centerpiece model, a competition entry, or a bust with a lot of smooth, organic skin. The print will take significantly longer, but the final result will be almost perfectly smooth.
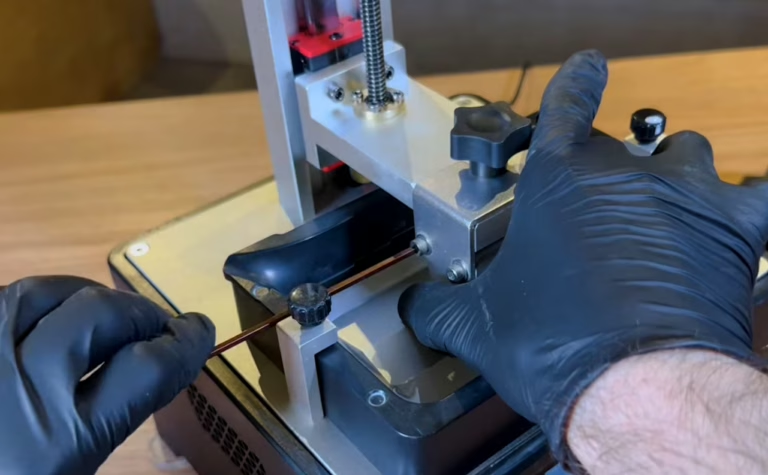
Adjust Layer Exposure Times (The Critical Link)
This is the step most beginners miss, and it’s why their prints fail. You cannot change your layer height without also changing your exposure time.
The Golden Rule: As we covered in our exposure time video, thicker layers need more time under the UV light to cure properly.
- If you thicken your layers (e.g., from 0.05mm to 0.10mm), you must increase your exposure time.
- If you thin your layers (e.g., from 0.05mm to 0.03mm), you can decrease your exposure time.
Settle and Test Your Settings
Do not “guess and hope” on a 14-hour print. You must test your new settings.
To show you the real-world difference, we ran a test using the cute sleeping bulldog from our Tavern 2.0 Welcome Pack. We chose this model because it’s small, detailed, and has curved surfaces on its back and food pot that will clearly show layer lines.
Here are the results from the Lychee slicer simulation:
| Layer Height | Total LayersTotal Layers | Total Print Time | Analysis |
| 0.10mm (Draft) | 363 layers | 1 hr 5 min | Incredibly fast. More than 50% time savings, but layer lines will be visible. |
| 0.05mm (Loot Standard) | 363 layers | 2 hr 2 min | The “all-rounder.” The best balance of quality and speed. |
| 0.03mm (Hero) | 1,200 layers | 3 hr 20 min | A significant time increase for a noticeable quality boost on small models. |
| 0.01mm (Ultra-Hero) | 1,200 layers | 9 hr 49 min | Extreme quality, but nearly a 5x increase in time over the standard. |
The Choice Is Yours!
Looking at the microscope shots, there is a clear difference between the prints. The question is, is an extra 7 hours of print time worth it to go from 0.03mm to 0.01mm?
Well, that’s for you to decide. We’re just here to show you the difference.
Ultimately, the decision depends on your project and priorities. Whether you’re speeding up production or achieving immaculate detail, understanding layer height is vital to mastering your printer.
Final Thoughts
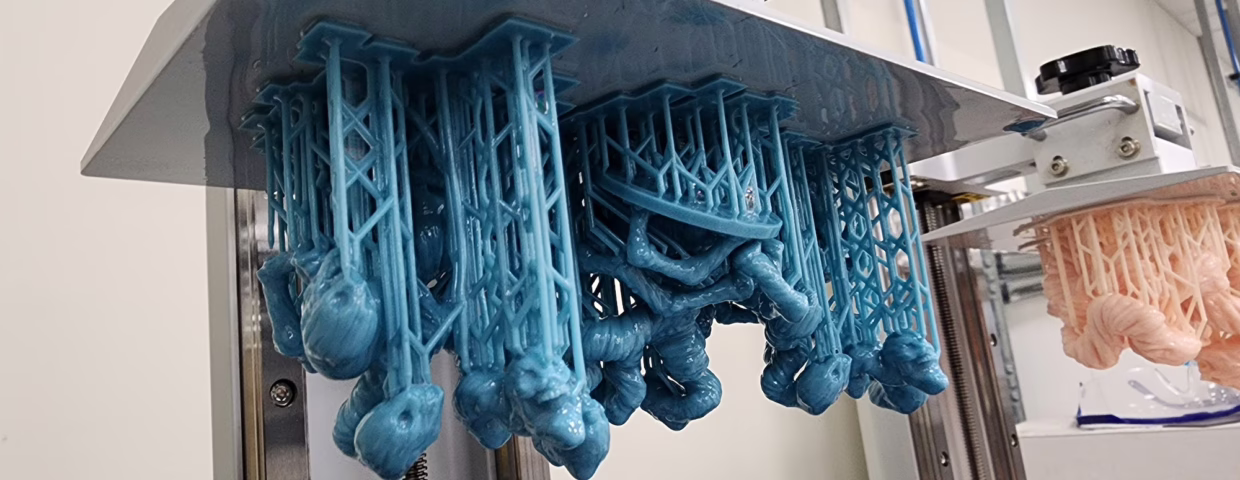
Now that you’ve mastered your settings, you’ll need models to print! All Loot Studios models come pre-supported and are tested to guarantee a flawless print.
Loot Studios can help you paint highly detailed minis, statues, and props. Choose your favorite bundle from our previous releases or sign up for Fantasy or Sci-Fi to receive a new bundle every month. You can also check out some tips on our YouTube Channel.